| ウォーリア・オブ・ライト | |
| |
| Portrait(s) | |
| 英語表記 | Warrior of Light |
| 英語名 | Warrior of Light |
| 出典 | FINAL FANTASY |
| ストーリー難易度 | ***** |
| EXモード | クラスチェンジ! |
| EXバースト | オーバーソウル |
| 声優 | 関俊彦 |
| 声優(海外版) | グラント・ジョージ |
| Dissidia Final Fantasy Character | |
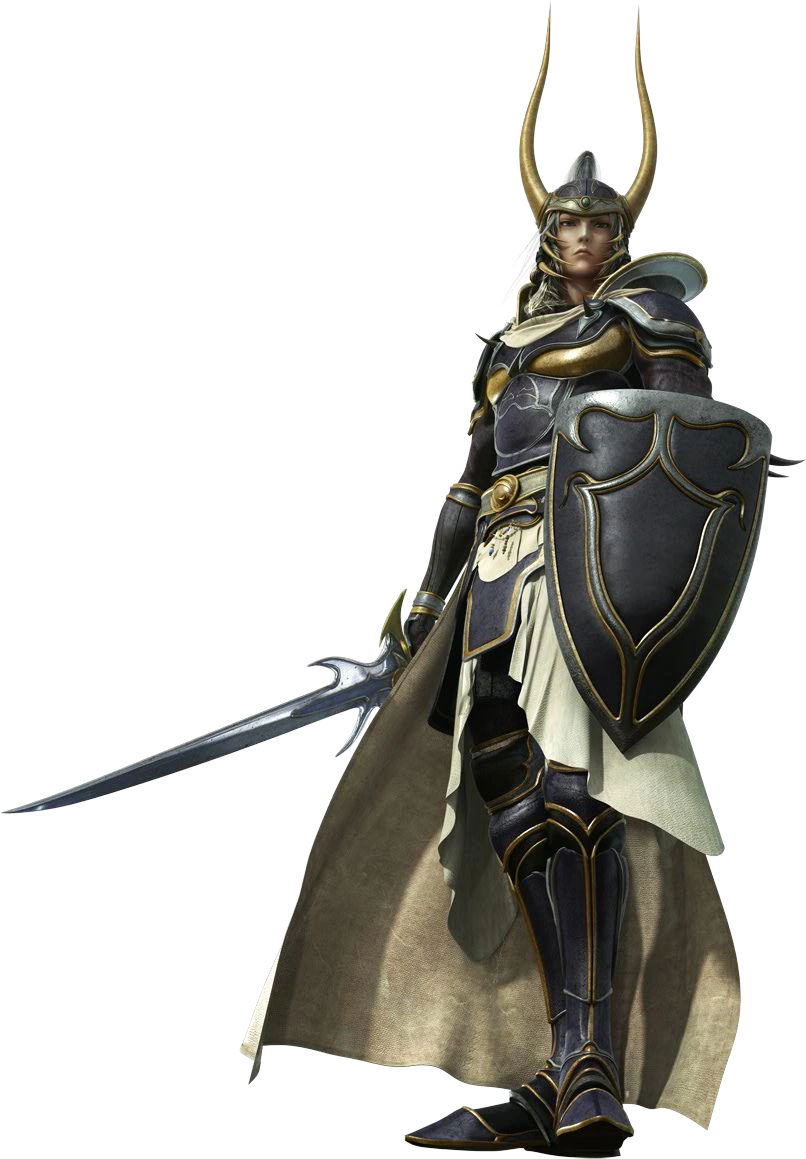
- "A legendary warrior blessed by the light. Bearing sword and shield, he is skilled in all aspects of combat."
- —Description
The Warrior of Light is one of the heroes fighting for the side of Cosmos in Dissidia Final Fantasy. A skilled swordsman, he also excels in using his shield both defensively and offensively. As the leader of the heroes fighting for Cosmos, the Warrior of Light is portrayed as a stoic character who faithfully seeks to fulfill Cosmos's request to retrieve the Crystals. In opposition, his nemesis Garland is Chaos's right-hand man. According to Dissidia's character files, Warrior of Light's origins and true name are unknown, even to him.
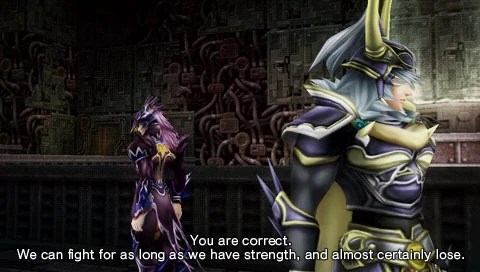
The Warrior is one of the returning characters from Dissidia to appear in Dissidia 012 Final Fantasy. It has also been revealed that Lightning sees the Warrior as a suspected traitor. He also seems far less confident and sure of himself.
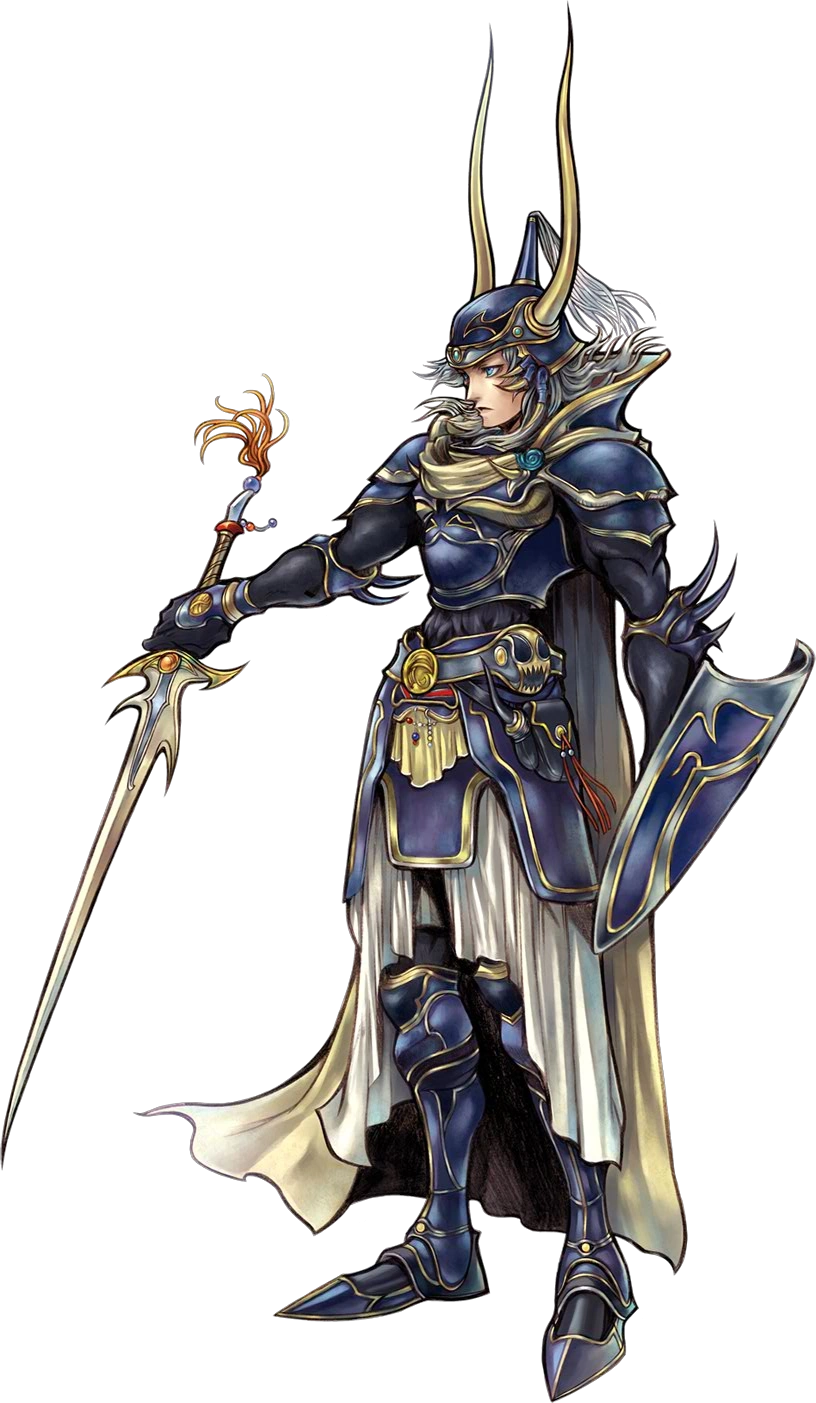
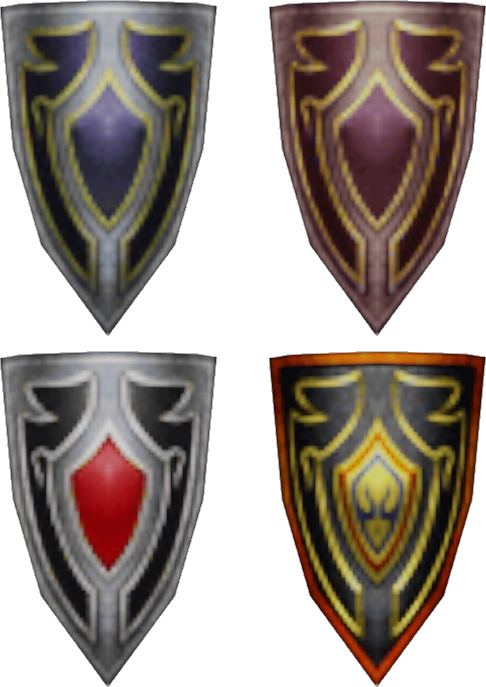
Crystal and Attire[]
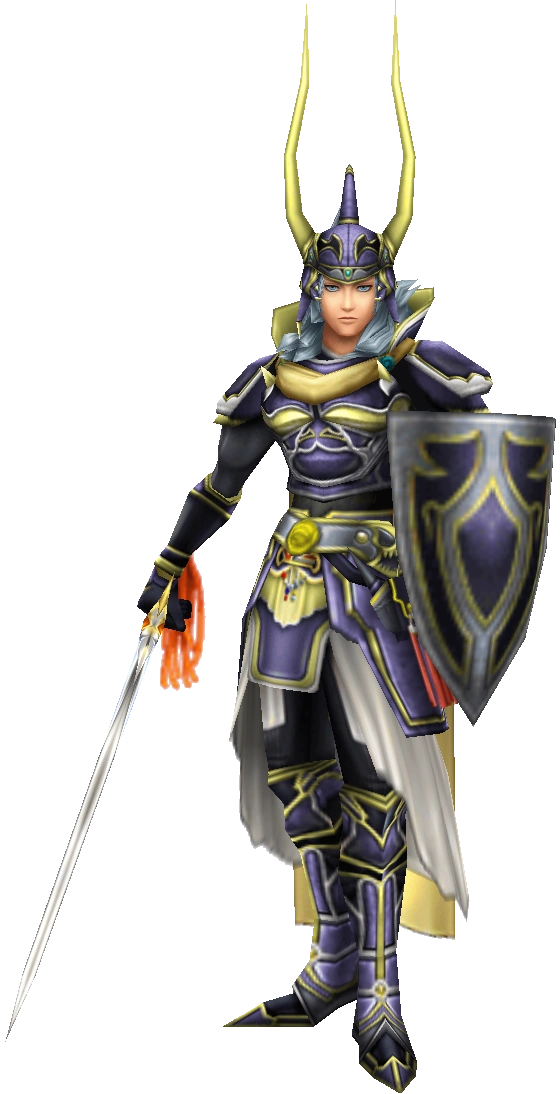
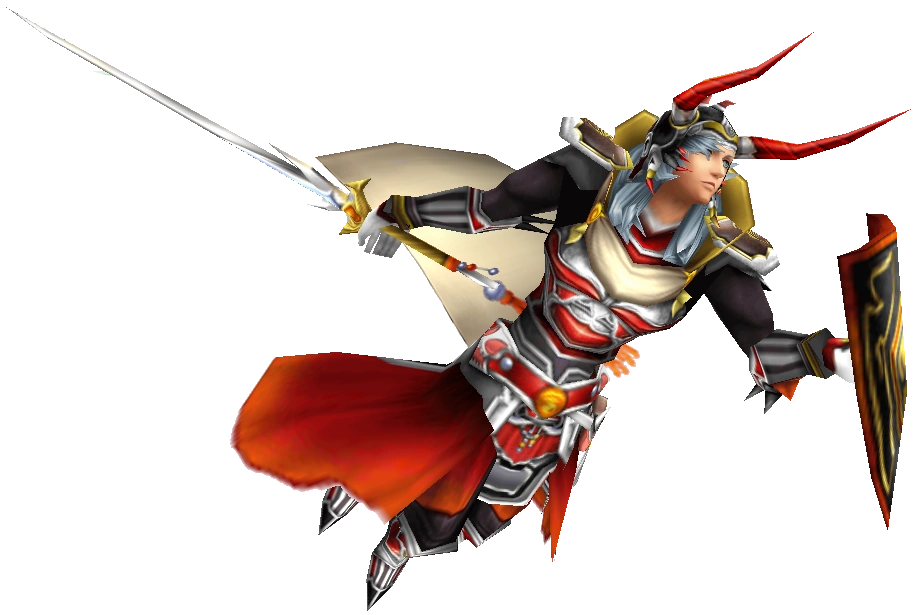
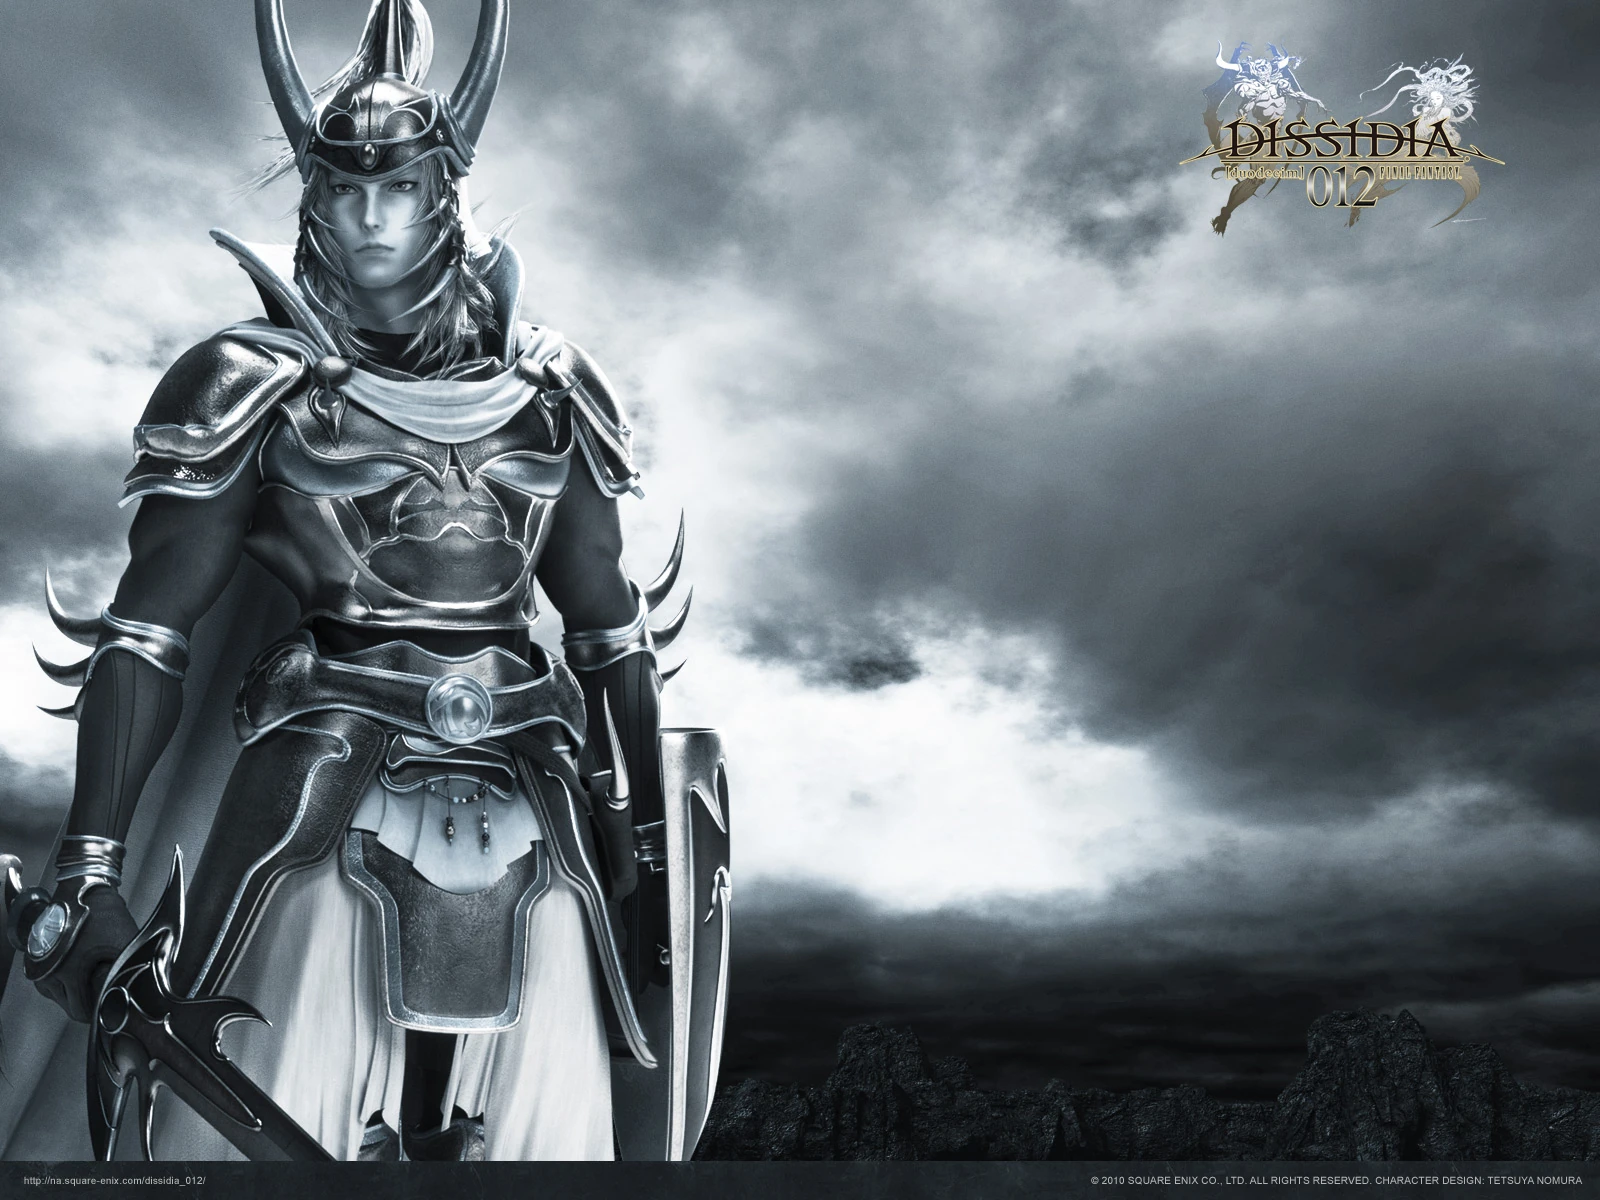
The Warrior of Light's original outfit is based on Yoshitaka Amano's artwork from the original Final Fantasy, and appears as a knight in blue armor with khaki and white linings. His EX Mode is based on the artwork of the Final Fantasy warrior, giving his armor red and yellow highlights and tilting the horns on his helmet forward.
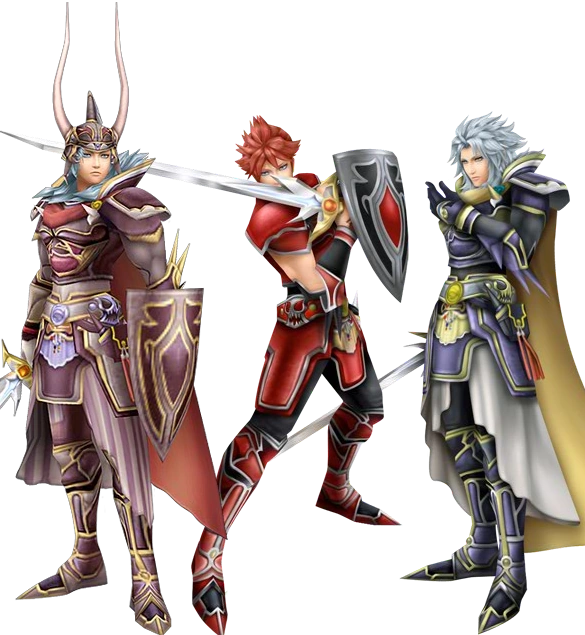
His first alternate outfit is a red and sepia recolor, so as to invoke a weathered feeling, and his EX Mode is recolored red with silver and white highlights like the alternate artwork of the Warrior of Light.
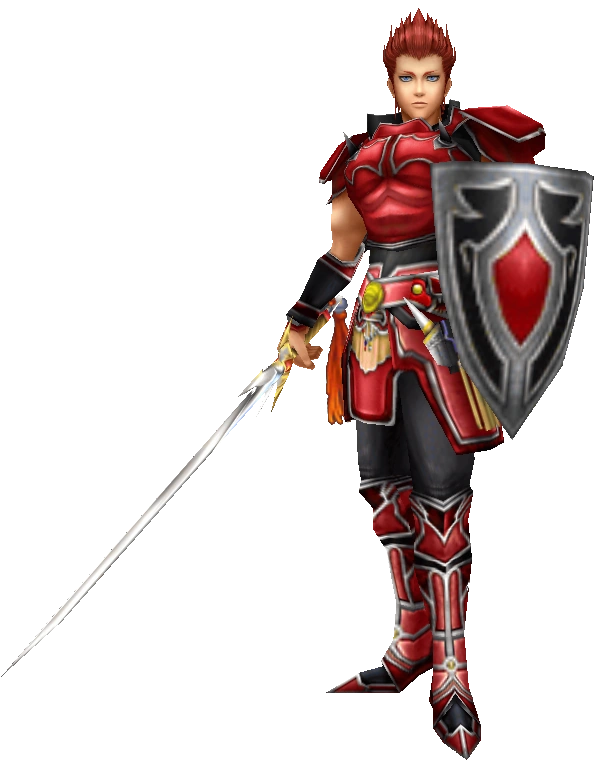
His second alternate outfit dresses him in crimson armor and removes his helmet to show red hair, like Final Fantasy's Warrior sprites and artwork. His EX Mode in this outfit makes his hair spikier, and is slicked back. His muscles in his torso, arms, and legs become larger as well, appearing as the Knight class upgrade.
His Crystal is a large blue shard, and is a direct reference to the elemental Crystals from Final Fantasy that each of the Warriors of Light held in the storyline.
The Warrior's Manikin version, False Hero, is blue.
Story[]
Dissidia 012[]
In one of the cutscenes presented to the public, after barely escaping with Lightning and hearing her state to Cosmos that they have no chance of winning, the Warrior of Light clashes blades with her while being accused a traitor like Kain. Though demanding why, the Warrior tells Lightning not to concern herself at the current moment.
In the TGS trailer, though he sees himself unworthy of his title, the Warrior remains by Cosmos' side due to his vow of protecting her to the bitter end. In another recent trailer, he is seen with Bartz, with the latter asking the former if they can come up with a name to call him by. He was later approached by Prishe during the newest trailer. In a similar note, he is also seen helmetless whilst talking to Prishe.
Dissidia: Prologue[]
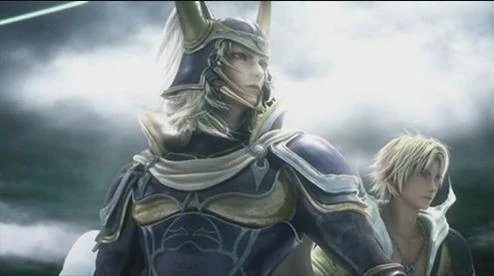
Warrior of Light and Tidus before the first battle against the villains in the thirteenth cycle.
The prologue opens with the Warrior of Light regaining consciousness after an epic battle against Chaos's remaining forces. Upon awakening, he hears Cosmos speaking to him, saying she has been defeated by the god of discord. After getting rid of the Manikins barring his path he arrives at Order's Sanctuary, finding Cosmos weakened. She pleads with him and the other Warriors of Cosmos, telling them to find the Crystals in order to restore the balance between harmony and discord. She regrets her inability to support them, but the Warrior assures her light is already with them. Cosmos vanishes and the Warrior of Light sets off, determined to fulfill this quest.
Destiny Odyssey[]

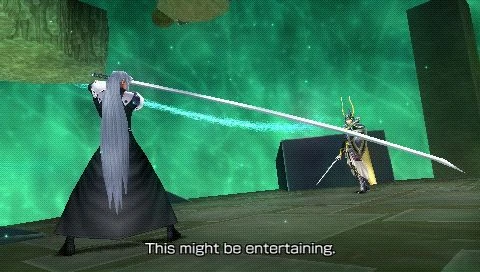
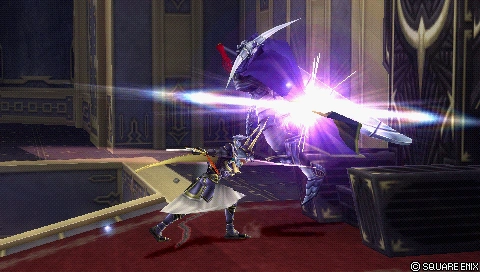
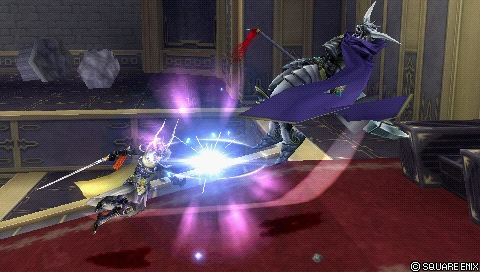
Warrior of Light fights Sephiroth after the latter injures Firion.
During his travels the Warrior of Light encounters Garland who tries to goad the Warrior into a fight. The Warrior complies and the two battle, resulting in Garland's defeat. However, Garland says the hope to save the world is a mere illusion, also telling that the real truth of the war will be revealed eventually.
Later, the Warrior meets Cecil and Tidus, who tell him Firion pursued someone who stole something of importance to him. The Warrior of Light tracks Firion down, only to find him injured from battling Sephiroth. He engages Sephiroth in Firion's stead and defeats him. After the duel, Sephiroth asks him why he fights, and the Warrior replies that it is for the Crystals and for the war to end. However, Sephiroth says the fighting will not end, and that the Warrior fights for the thrill of it, just as he does. Sephiroth then departs to battle Cloud, leaving the Warrior of Light puzzled, but still determined.
As he travels further, he encounters Ultimecia who taunts his resolve to end the war. The Warrior ignores her words, however, and they engage in battle. Though the Warrior defeats her, Ultimecia states there is no hope for them to succeed, and says that his comrades are losing their faith in the Crystals before departing. Shortly after, the Warrior encounters Squall in the Crystal World, traveling alone. Squall declares he will fight and find his Crystal on his own, and the Warrior questions if he is truly strong enough to follow his path in solitude. The two battle and Squall proves himself and wins the duel. Squall tells the Warrior that while he travels alone, he still has his comrades' support and shows him Bartz's good luck charm. The Warrior questions Squall's decision, and Squall says he was told by Cosmos to follow his path alone. Satisfied with his strength and his trust in his allies, the Warrior continues on and leaves Squall to his chosen path.
After leaving Squall, Cosmos approaches the Warrior of Light and tries to dissuade him from his journey. However, the Warrior of Light insists on continuing, even when hope seems lost, keeping his sworn oath to find the Crystals and end the war. She then responds with an oath of her own: to keep believing in them until the very end. The Warrior arrives in Pandaemonium, facing the Emperor, who tries to sway the Warrior of Light with a fake Crystal. However, he sees through the ruse easily and destroys it, declaring the Crystals are earned through their own strength, not by the mercy of an enemy. Thus, the two engage in battle and the Warrior wins. Just after the Emperor disappears, Garland arrives and tells the Warrior of Light to follow him if he wants to know the truth behind the war.

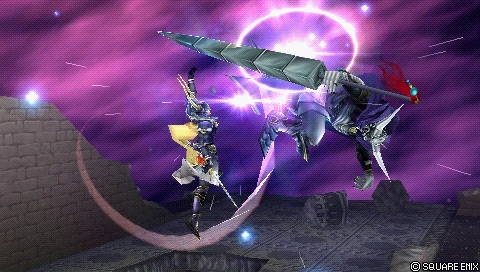
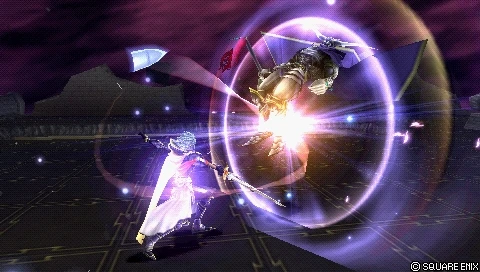
Warrior of Light faces Garland.
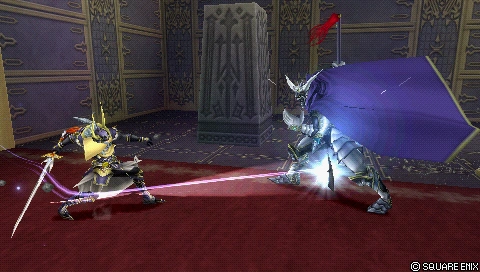
Before the battle, Garland reveals all of them are trapped in an endless cycle of death and rebirth, saying it is their destiny to fight forever and thus hopeless to fight against fate. The Warrior of Light replies that even though they are trapped, he will overcome the cycle against all odds, and the two start fighting. The Warrior wins and earns his Crystal, but Garland warns he will return yet again. The other Warriors of Cosmos arrive, and the ten return to Cosmos's sanctuary with their Crystals.
Shade Impulse[]
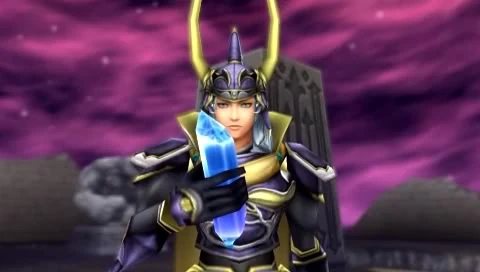
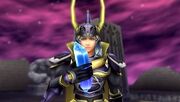
Warrior of Light holding his Crystal.
After all the heroes have gathered at Cosmos's Throne, they attempt to save the goddess, but arrive too late. Chaos arrives at the scene, transports everyone to his throne and incinerates Cosmos. Soon afterward, the heroes begin to disappear from his throne and are transported to a place of absolute darkness, where not even a single speck of light can be seen. However, the last remaining strength of Cosmos's spirit within the Crystals saves them from permanent erosion and gives the warriors another chance to strike back.


Warrior of Light walks towards Castle Cornelia.
During his journey the Warrior of Light states that, unlike his comrades, he has no memory of what happened in his own world before he met them and Cosmos, not even his own name. Later, Tidus tells him that there is more to memories before they got there and that it will be nice if he remembers fighting alongside them. The Warrior of Light promises he will remember his friends for eternity. After defeating their respective villains, they challenge Chaos directly and emerge victorious.
Shortly afterward, they find themselves in the reformed world of the original Final Fantasy. Everyone fades back to their own worlds, except for the Warrior of Light, who walks towards Castle Cornelia with his Crystal in hand bidding the light to shine over them forever.
テンプレート:Endspoilers
Battle[]
テンプレート:See Also Warrior of Light is described as a Paragon, using both magical and physical attacks with proficiency, and fights using both his sword and shield. The Warrior is primarily a well-rounded melee fighter that relies on close to mid-range combos, and several of his attacks initiate chase sequences. Furthermore, all of his aerial Bravery attacks can chain into HP attacks. As a downside, the Warrior has few ranged attacks, and his melee strikes are not overly powerful compared to the game's other melee attackers.
Boss[]
The Warrior of Light is fought in Destiny Odyssey VIII, Distant Glory, and Inward Chaos.
Attacks[]
テンプレート:See Also
Bravery attacks
| Move | Type | CP (Mastered) | AP | Obtained | Description | Image |
|---|---|---|---|---|---|---|
| Dayflash | Ground | 30 (15) | 90 | Initial | Short three-hit combo that knocks opponent away. Executes quickly but has low range. Additional Effect: Wall Rush |
|
| Red Fang | Ground | 20 (10) | 120 | Initial | Conjure a fireball to home in on opponent. | 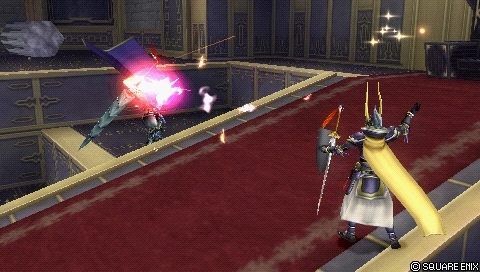
|
| Sword Thrust | Ground | 30 (15) | 180 | Level 3 | Throw shield forward, then charge forward to attack opponent with a sword combo. The shield throw staggers opponents. Additional Effect: Wall Rush |
|
| Blue Fang | Ground | 20 (10) | 120 | Level 19 | Conjures six shards of ice to strike opponent from above. | 
|
| White Fang | Ground | 20 (10) | 120 | Level 24 | Conjures a stream of lightning bolts that travel towards opponent. | 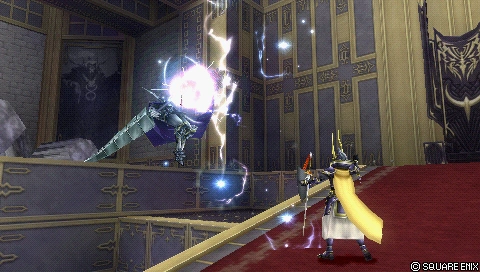
|
| Ascension | Ground | 30 (15) | 90 | Level 30 | Throw shield forward and up and attack with a sword combo to launch opponent into the air. Additional Effects: Chase, Wall Rush |
|
| Crossover | Aerial | 30 (15) | 120 | Initial | Move forward while spinning shield, then stab opponent to knock them into the air. Additional Effects: Chase, Wall Rush |
|
| Rising Buckler | Aerial | 30 (15) | 120 | Level 9 | Throws shield upwards at opponent to hit multiple times, then stab and knock them downward. Additional Effect: Chase, Wall Rush |
|
| Shield Strike | Aerial | 30 (15) | 120 | Level 13 | Throw shield downward at opponent to hit multiple times, then knock them upward. Additional Effect: Chase, Wall Rush |
|
HP attacks
| Move | Type | CP (Mastered) | AP | Obtained | Description | Image |
|---|---|---|---|---|---|---|
| Shining Wave | Ground | 40 (20) | 180 | Initial | Stab sword into the ground and swing to send a wave of light forward. Tracks slightly and has a high reach into the air. | 
|
| Shield of Light (ground) |
Ground | 40 (20) | 180 | Initial | Guard and hold out shield to unleash a short-ranged burst of light energy. Additional Effects: Block, Wall Rush |
|
| Shield of Light (midair) |
Aerial | 40 (20) | 180 | Initial | Guard and hold out shield to unleash a short-ranged burst of light energy. Additional Effects: Block, Wall Rush |
|
| Radiant Sword | Aerial | 40 (20) | 180 | Level 38 | Summon six glowing swords that fire forward and then curve towards opponent. Can be blocked, but will cause staggering making it likely the other swords will hit. Additional Effect: Wall Rush |
|
Bravery to HP attacks
| Move | Type | CP (Mastered) | AP | Chains from | Description | Image |
|---|---|---|---|---|---|---|
| Rune Saber (ground) |
Ground | 40 (20) | 300 | Ascension | Create a field of light energy to damage opponent, and stab upwards with a large sword of energy. Additional Effect: Wall Rush |
|
| Rune Saber (midair) |
Aerial | 40 (20) | 300 | Crossover | Create a field of light energy to damage opponent, and stab upwards with a large sword of energy. Additional Effect: Wall Rush |
|
| Bitter End A | Aerial | 40 (20) | 300 | Shield Strike | Strike opponents with a flurry of sword attacks, then knock them away. Additional Effect: Wall Rush |
|
| Bitter End B | Aerial | 40 (20) | 300 | Rising Buckler | Strike opponents with a flurry of sword attacks, then knock them away. Additional Effect: Wall Rush |
|
Bravery attacks
| Move | Type | CP (Mastered) | AP | Obtained | Description | Image |
|---|---|---|---|---|---|---|
| Dayflash | Ground | 30 (15) | 90 | Initial | Short three-hit combo that knocks opponent away. Executes quickly but has low range. Additional Effect: Chase |
|
| Red Fang | Ground | 30 (15) | 90 | Initial | Conjure a fireball to home in on opponent. |
|
| Sword Thrust | Ground | 30 (15) | 90 | Level 4 | Throw shield forward, then charge forward to attack opponent with a sword combo. The shield throw staggers opponents. Additional Effect: Wall Rush |
|
| Blue Fang | Ground | 30 (15) | 90 | Initial | Conjures six shards of ice to strike opponent from above. |
|
| White Fang | Ground | 30 (15) | 90 | Level 8 | Conjures a stream of lightning bolts that travel towards opponent. |
|
| Ascension | Ground | 30 (15) | 120 | Level 30 | Throw shield forward and up and attack with a sword combo to launch opponent into the air. Additional Effects: Chase, Wall Rush |
|
| Crossover | Aerial | 30 (15) | 120 | Initial | Move forward while spinning shield, then stab opponent to knock them into the air. Additional Effects: Chase, Wall Rush |
|
| Dayflash | Aerial | 30 (15) | 90 | Unknown | Short three-hit combo that knocks opponent away. Executes quickly but has low range. Additional Effect: Chase |
|
| Rising Buckler | Aerial | 30 (15) | 150 | Level 9 | Throws shield upwards at opponent to hit multiple times, then stab and knock them downward. Additional Effect: Wall Rush |
|
| Shield Strike | Aerial | 30 (15) | 200 | Level 13 | Throw shield downward at opponent to hit multiple times, then knock them upward. Additional Effect: Wall Rush |
|
HP attacks
| Move | Type | CP (Mastered) | AP | Obtained | Description | Image |
|---|---|---|---|---|---|---|
| Shining Wave | Ground | 30 (15) | 130 | Initial | Stab sword into the ground and swing to send a wave of light forward. Tracks through walls and floors as well as into the air. |
|
| Ultimate Shield | Ground | 30 (15) | 130 | Level 28 | Fling shield out to drag opponent closer, than hit them several times and knock them away. Can fling up into the air as well including directly above Warrior of Light. Additional Effect: Wall Rush |
|
| Shield of Light (ground) |
Ground | 30 (15) | 130 | Initial | Guard and hold out shield to unleash a short-ranged burst of light energy. Additional Effects: Block, Wall Rush |
|
| Shield of Light (midair) |
Aerial | 30 (15) | 130 | Initial | Guard and hold out shield to unleash a short-ranged burst of light energy. Additional Effects: Block, Wall Rush |
|
| Radiant Sword | Aerial | 30 (15) | 130 | Level 38 | Summon six glowing swords that fire forward and then curve towards opponent. Can be blocked, but will cause staggering making it likely the other swords will hit. Additional Effect: Wall Rush |
|
Bravery to HP attacks
| Move | Type | CP (Mastered) | AP | Chains from | Description | Image |
|---|---|---|---|---|---|---|
| Rune Saber (ground) |
Ground | 30 (15) | 130 | Ascension | Create a field of light energy to damage opponent, and stab upwards with a large sword of energy. Additional Effect: Wall Rush |
|
| Rune Saber (midair) |
Aerial | 30 (15) | 130 | Crossover | Create a field of light energy to damage opponent, and stab upwards with a large sword of energy. Additional Effect: Wall Rush |
|
| Bitter End A | Aerial | 30 (15) | 130 | Shield Strike | Strike opponents with a flurry of sword attacks, then knock them away. Additional Effect: Wall Rush |
|
| Bitter End B | Aerial | 30 (15) | 130 | Rising Buckler | Strike opponents with a flurry of sword attacks, then knock them away. Additional Effect: Wall Rush |
|
EXモード[]

The Warrior of Light's EX Mode is Class Change where he upgrades from a Warrior to a Knight, based on Amano's artwork of the Knight from Final Fantasy. The Warrior of Light gains the bonuses "Mirror Attack", "Protect", and "Light's Blessing". Mirror Attack deflects minor magic projectiles while attacking, Protect increases the Warrior's Defense by ten points, and Light's Blessing summons swords of light to strike opponents when landing a Bravery attack, dealing additional damage and knocking them further back than usual.
His EX Burst, Oversoul, has the Warrior of Light attack the opponent with powerful magic sword blows. The player must input a series of D-pad commands as the Warrior dashes past opponents to strike them multiple times. If the player inputs all the commands correctly, the Warrior executes a final strike that "detonates" the magical energy surrounding the opponent.
Equipment[]
Warrior of Light is able to equip Swords, Greatswords, Axes, Shields, Gauntlets, Helms, Light Armor, and Heavy Armor.
Exclusive Weapons[]
| Name | Level | Stats | Effects | Obtained |
|---|---|---|---|---|
| Flame Sword | 50 | ATK +36 | Defense +5%. | Trade: 15460 gil, Rapier, Spirit Stone x3, Protect Shard x2 |
| Braveheart | 92 | ATK +63 | Defense +10%. | Trade: 29570 gil, Flame Sword, Goddess's Magicite x5, Protect Crystal x3 |
| Barbarian's Sword | 100 | ATK +68 | Defense +15%. Minor Counterattack Effect. |
Trade: 31920 gil, Braveheart, Guiding Light x5, Protect Orb x5 |
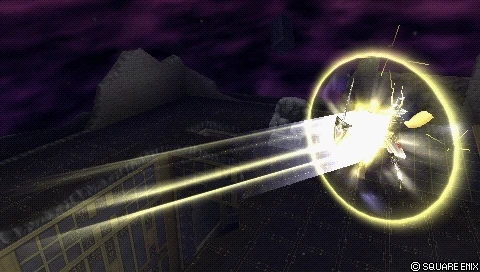
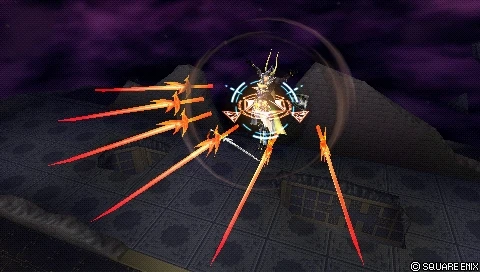
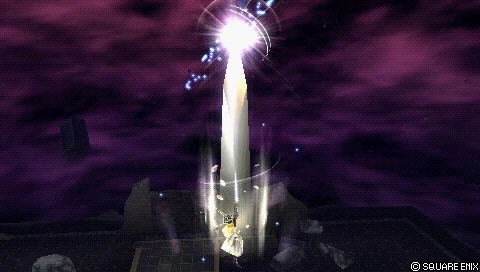
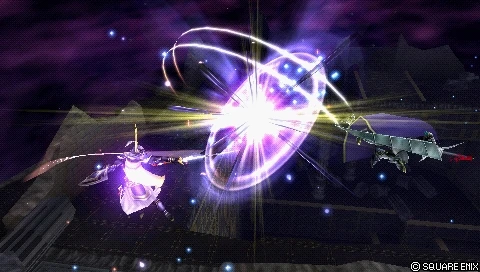
ギャラリー[]
 |
 |
 |
 |
 |
 |
 |
 |
 |
 |
 |
Allusions[]
- The Braveheart is a weapon dropped by Yamatano Orochi in the Whisperwind Cove and Barbariccia in the Hellfire Chasm in the Dawn of Souls and 20th Anniversary editions of Final Fantasy.
- The Warrior of Light's Red Fang, Blue Fang, and White Fang attacks are named after recurring items of the same names that cast elemental magic when used in battle. When any of the three attacks are used, the fang itself can be seen being thrown into the air and vanishing.
- The Barbarian's Sword is the strongest weapon available in the 20th Anniversary edition, surpassing even the Ultima Weapon, and can only be obtained by defeating the strongest version of Chronodia in the Labyrinth of Time.
- In Destiny Odyssey I-5 and for his EX Burst, the Warrior of Light makes the same pose as the one found on the original game cover, illustrated by Yoshitaka Amano.
- The scene at the ending where the Warrior of Light is walking towards Cornelia Castle resembles the opening scene of the original Final Fantasy.
- The Warrior's EX Mode allows him to slash away magic projectiles while attacking. This may be a reference to the CGI cutscene from the game's Origins version, in which he cuts through a Red Dragon's fireball.
- At the end of Destiny Odyssey 1-5 Warrior of Light states that he will find a way to save everyone, even Garland. This may reference the epilogue from Final Fantasy, which states that once the world is washed with light, everyone including Garland will be there.
- When using Shining Wave, the Warrior says "Bathe in the Light," referencing the epilogue of Final Fantasy, which says that the four warriors used the elements that had destroyed the world "to bathe [it] in light."
- At the beginning of Shade Impulse Chapter 3-4, the Warrior of Light tells his friends he does not remember anything before the events of the game, including his own name. The original Light Warriors were not given default names and it was up to the player to name them. In the Jump Festa Trailer for Dissida 012, Bartz asks the Warrior if everyone should come up with a name to call him by, again referencing the naming system featured in various games of the series.
Trivia[]
- The Warrior of Light has the longest storyline in the game; his storyline begins moments after Cosmos sends the Warriors of Light to find their Crystals, and according to Destiny Odyssey 109, the Warrior of Light retrieves his Crystal the last.
- The Warrior of Light's storyline has a few unique aspects compared to the other characters'. He is the only character to fight the same enemy twice in one storyline (Garland); he is the only character to face a boss in the middle of a stage rather than at the end (Ultimecia - this battle piece is also the only boss battle to have a DP Reward attached to it in a characters story mode outside of Inward Chaos and the Gabranth and Shantotto storylines); and he has the most boss fights of any character's storyline, a total of five, whereas all other characters fight no more than three.
- At the end of the game, all of the heroes return to their respective homes, except for the Warrior of Light, who simply walks towards Castle Cornelia.
- The final D-pad command for the Warrior's EX Burst is always left.
- The Warrior of Light and Zidane were the first heroes to be announced for Dissidia.
- The Warrior of Light's fighting style, Paragon, has the same name as a superboss in Final Fantasy X-2. The Warrior's EX Burst Oversoul shares its name with the term for monsters in the same game that are stronger than normal.
- The Warrior of Light is one of three characters, the others being Zidane and Kuja, to have more than one intro quote when fighting his rival.
| v · e · d ディシディア ファイナルファンタジー
|
|---|
| キャラクター |
| コスモス陣営 |
| WoL - フリオニール - オニオンナイト - セシル - バッツ - ティナ - クラウド - スコール - ジタン - ティーダ |
| カオス陣営 |
| ガーランド - 皇帝 - 暗闇の雲 - ゴルベーザ - エクスデス - ケフカ - セフィロス - アルティミシア - クジャ - ジェクト |
| ゲスト |
| シャントット - ガブラス |
| サブキャラクター |
| カオス - コスモス - ルフェインのシド - 神竜 |
| マップ |
| 過去のカオス神殿 - パンデモニウム - 闇の世界 - 月の渓谷 - 次元城 - ガレキの塔 - 星の体内 - アルティミシア城 - クリスタルワールド - 夢の終わり - 秩序の聖域 - 混沌の果て |
| ストーリーモード |
| Prologue - Destiny Odyssey - Shade Impulse - Distant Glory - Inward Chaos |
| Other Gameplay Modes |
| Arcade Mode - Duel Colosseum |
| Terms |
| Accomplishments - Banish Trap - Battlegen - Bravery - Chaos Reports - Chase Sequence - Combination - Command Mode - Cosmos Reports - Crystal - Cycle - Dash - Data Install - Destiny Points - EX Mode - Friend Card - Manikin - Mognet - Pieces - Play Plan - PP Catalog - Passwords - Quickmove - Rules - Skills - Summonstone - Wall Rush |
| 音楽 |
| オリジナルサウンドトラック |
| "Cosmos" - "Chaos" - "The Messenger" |
| Archives |
| Abilities - Accessories - Armor - Bugs and Glitches - Enemies - Merchandise - Museum - Player Icons - Shop - Translations - Version Differences - Wallpapers - Weapons |
| v · e · d Dissidia 012 Final Fantasy
|
|---|
| Dissidia Duodecim Prologus |
| Characters |
| Warriors of Cosmos |
| Warrior of Light - Firion - Onion Knight - Cecil - Bartz - Squall - Zidane - Jecht - Shantotto |
| Warriors of Chaos |
| Garland - The Emperor - Cloud of Darkness - Golbez - Exdeath - Terra - Kefka - Cloud - Sephiroth - Ultimecia - Kuja - Tidus - Gabranth |
| New characters |
| Kain - Gilgamesh - Tifa - Laguna - Yuna - Prishe - Vaan - Lightning - Feral Chaos |
| Non-playable characters |
| Cosmos - Chaos - Aerith - Cid of the Lufaine - Shinryu |
| Areas |
| World B |
| Old Chaos Shrine - Pandaemonium - Pandaemonium-Top Floor - Crystal Tower - World of Darkness - Lunar Subterrane - The Rift - Kefka's Tower - Phantom Train - Planet's Core - Ultimecia's Castle - Crystal World - M.S. Prima Vista - Dream's End - Empyreal Paradox - Sky Fortress Bahamut - Orphan's Cradle - Order's Sanctuary - Edge of Madness |
| Story Mode |
| Prologus - Treachery of the Gods - Light to All - Confessions of the Creator - Reports |
| Other Gameplay Modes |
| Arcade Mode - Labyrinth - Original Quests - Quick Battle |
| Terms |
| Accomplishments (Prologus) - Assist - Banish Trap - Battlegen - Bravery - Chase Sequence - Combination - Command Mode - Cycle - Dash - Data Install - EX Mode - Friend Card - Gateway - KP - Light Orb - Manikin - Mognet - Pieces - Play Plan - PP Catalog - Quickmove - Rules - Skills - Summonstone - Teleport Stone - Wall Rush |
| Music |
| Original Soundtrack |
| "Cantata Mortis & God in Fire" |
| Archives |
| Abilities - Accessories - Armor - Gameplay Changes - Moogle Shop - Museum - Player Icons - Shop - Translations - Wallpapers - Weapons |